How to record vertical tutorial videos on Mac for Shorts, Reels, and TikTok
Direct answer: Vertical tutorials work best when the screen is cropped intentionally, zoomed around the action, and supported with captions instead of simply squeezing a wide desktop into a phone frame.
Why vertical tutorials fail
Most Mac screens are wide. Most social feeds are vertical. If you shrink the entire desktop into a 9:16 frame, text becomes unreadable and viewers leave.
The fix is not just changing the export size. The recording needs a vertical editing plan: focus the action, crop empty areas, and use captions.
A simple vertical workflow
Record the full screen or app window normally. In editing, choose a vertical canvas, zoom into the important area, place the camera bubble where it does not hide content, and add captions at the bottom or center depending on the platform.
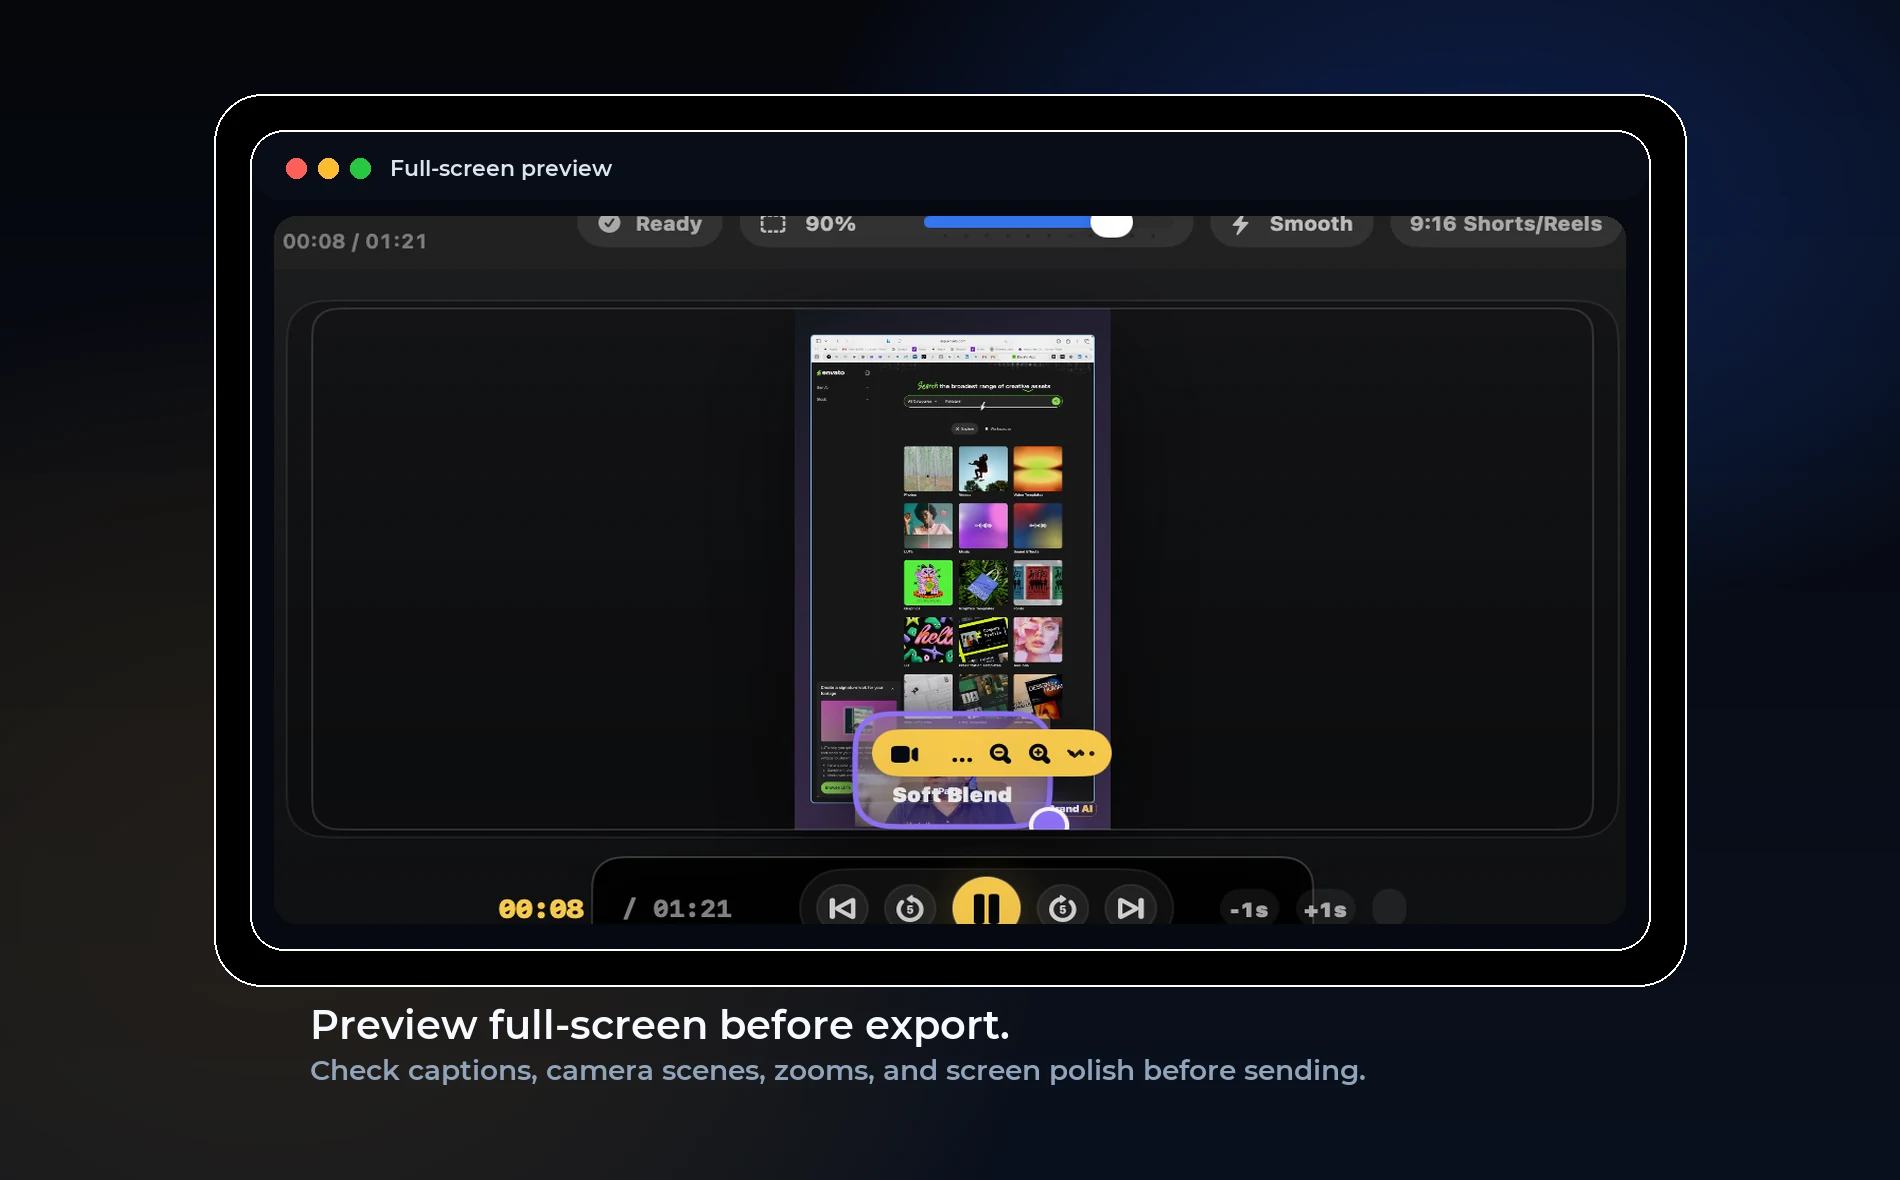
Use a full-screen preview before export. What looks fine in the editor can still be too small on a phone.
OurScreen’s role
OurScreen is strongest when a creator records once and exports many formats. A lesson can become a YouTube video, a course clip, and a short social clip without starting over in another editor.
The goal is not to replace a full social editor. The goal is to make the teaching clip clear enough to publish quickly.
Best topics for vertical clips
Use vertical tutorials for one tip, one mistake, one feature, one prompt, one shortcut, or one before-and-after. Long explanations still belong in horizontal or course formats.
OurScreen angle: We are building the local-first Mac studio for people who explain things. Join the early access list if you want to test the signed Mac build.
FAQ
Should I record vertically from the start?
Usually no. Record a clean full source, then frame the vertical version in editing.
Where should captions go?
Bottom captions are common, but center captions can work when the bottom area is occupied by the camera or interface.